
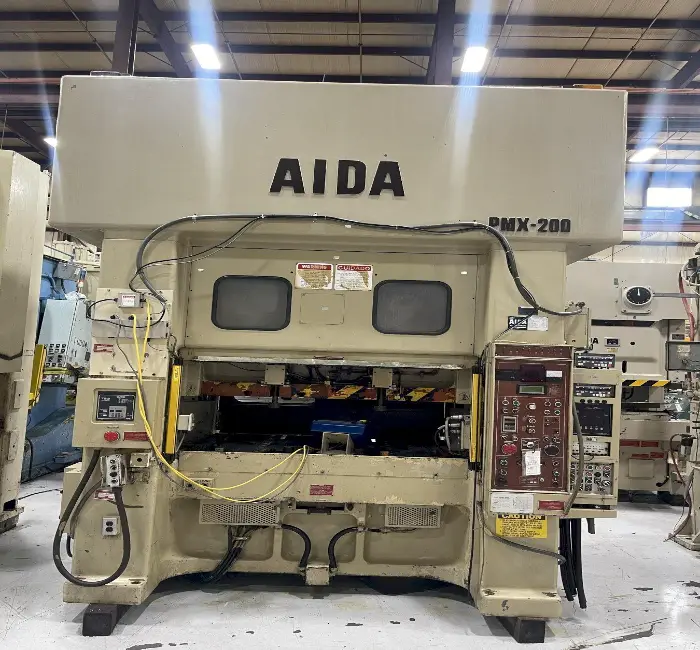
When you request a quote for a metal stamping project, the number on the page can feel like a black box. Why does one part cost far less than a seemingly similar one? Understanding the metal stamping cost breakdown is not only about negotiating better prices; it is about designing smarter, choosing the right supplier, and making decisions that save money at every stage.
This metal stamping cost breakdown examines every major cost component, explains what drives each one, and highlights where you have the most leverage to reduce expense. The figures described are illustrative categories, not a market price list; obtain a quotation for your actual project.
1. Tooling and Die Costs: The Upfront Investment
Tooling is usually the single largest line in a first-quote metal stamping cost breakdown, and for good reason. A precision stamping die is custom-engineered tooling, machined to very tight tolerances and built to survive millions of cycles under heavy pressure.
Typical share: 30–70% of first-order cost, amortized over volume. What is included: die design and engineering, CAD/CAM and simulation; die materials such as D2, A2, or M2 tool steel and carbide inserts; machining and assembly by wire EDM, grinding, and heat treatment; and tryout with first-article inspection and die tuning.
Key cost drivers are complexity, part size, tolerance, and expected volume. A simple blanking die costs a fraction of a progressive die with more than twelve stations. Larger parts need larger dies, and tighter tolerances demand longer build time.
Leverage point: tooling is a fixed cost, so more parts mean lower per-unit amortization. A die spread over ten thousand parts costs far more per piece than the same die over a million. For long-term production, investing in a more durable die upfront almost always pays off.
2. Material Costs: The Raw Foundation
Typical share: 25–50% of per-unit cost. Sheet metal is the physical product you are paying for, and its cost follows commodity markets, grade, and how efficiently the layout uses the coil. Base cost covers steel, stainless, aluminum, copper, or brass priced by weight or area; scrap rate is the portion that becomes skeleton, slugs, or offcuts; and a premium applies for special finishes or certified materials.
Cost drivers include material grade, thickness, nesting efficiency, and coil width. Cold-rolled steel is cheap, while titanium and high-nickel alloys are far more expensive. Thicker stock means more weight per part. Irregular shapes waste material, and standard coil widths use stock more efficiently than custom widths.
Leverage point: material yield is one of the most underappreciated targets. Improving utilization from 60% to 75% can cut material cost substantially, and the saving compounds across every part. Designing with nesting in mind is a principle that pays for itself quickly.
3. Press Time and Labor: The Production Run
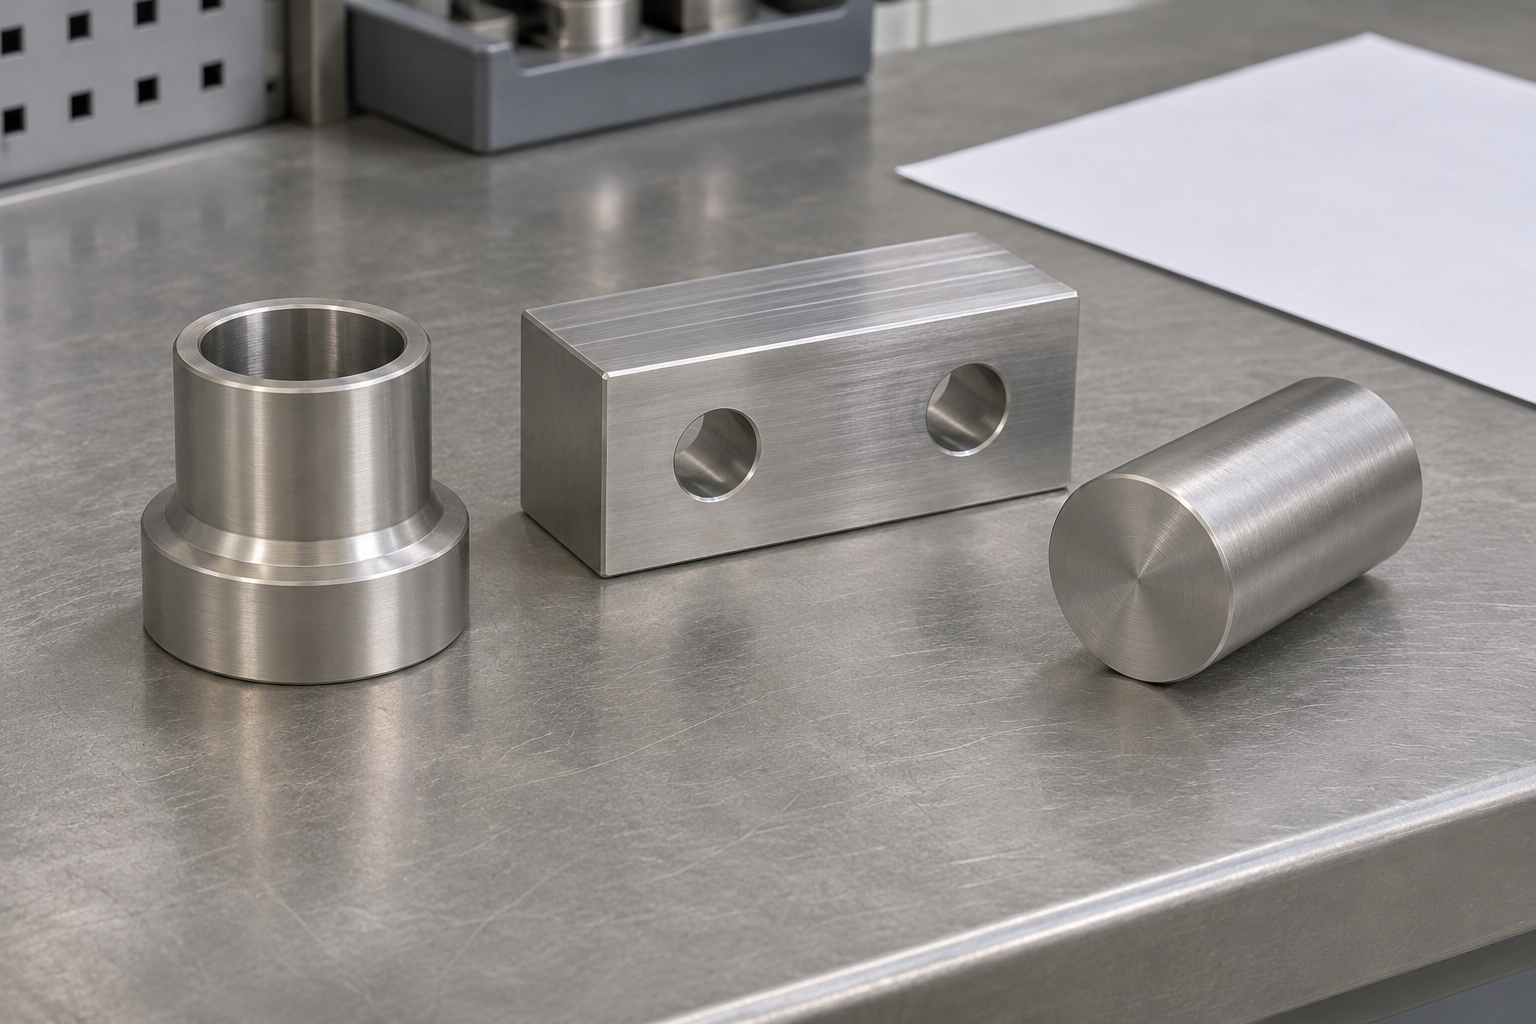
Typical share: 10–30% of per-unit cost. Every minute a press runs your part costs money. Press time includes machine depreciation, operator time, floor space, utilities, and the opportunity cost of not running another job. It covers the machine hour rate, operator labor for setup and monitoring, and changeover time for die installation and first-piece approval.
Cost drivers include press size, cycle speed, number of operations, and batch size. A larger press costs more per hour. Simple blanking can run very fast, while deep drawing is much slower. Each extra operation multiplies labor and handling, and setup cost falls heavily on small batches.
Leverage point: progressive dies are the biggest lever here, because they perform several operations in one stroke and reduce labor and handling. The trade-off is higher tooling cost, which is why volume decides. For high-volume parts, progressive tooling usually wins on total cost.
4. Secondary Operations: Beyond the Press
Typical share: 5–35% of per-unit cost, varying widely by part. Stamping is rarely the end of the line. Most parts need at least one secondary operation before shipping, and each adds cost, lead time, and risk. Common operations include deburring and finishing, threading and tapping, welding and assembly, surface treatment such as plating or coating, heat treatment, and inspection or testing.
Cost drivers include the number of operations, specialty requirements, and outsourcing. Medical or aerospace certifications add cost to every downstream process, and sending plating outside the stamper adds markup plus shipping.
Leverage point: consolidate. Every time a part leaves one facility, you pay for shipping, handling, and queue time. Choosing a supplier with in-house secondary capability, or designing parts that need fewer post-press steps, can cut total cost. Ask whether a cosmetic finish is truly required or whether a standard industrial finish would do.
5. Quality, Inspection, and Overhead
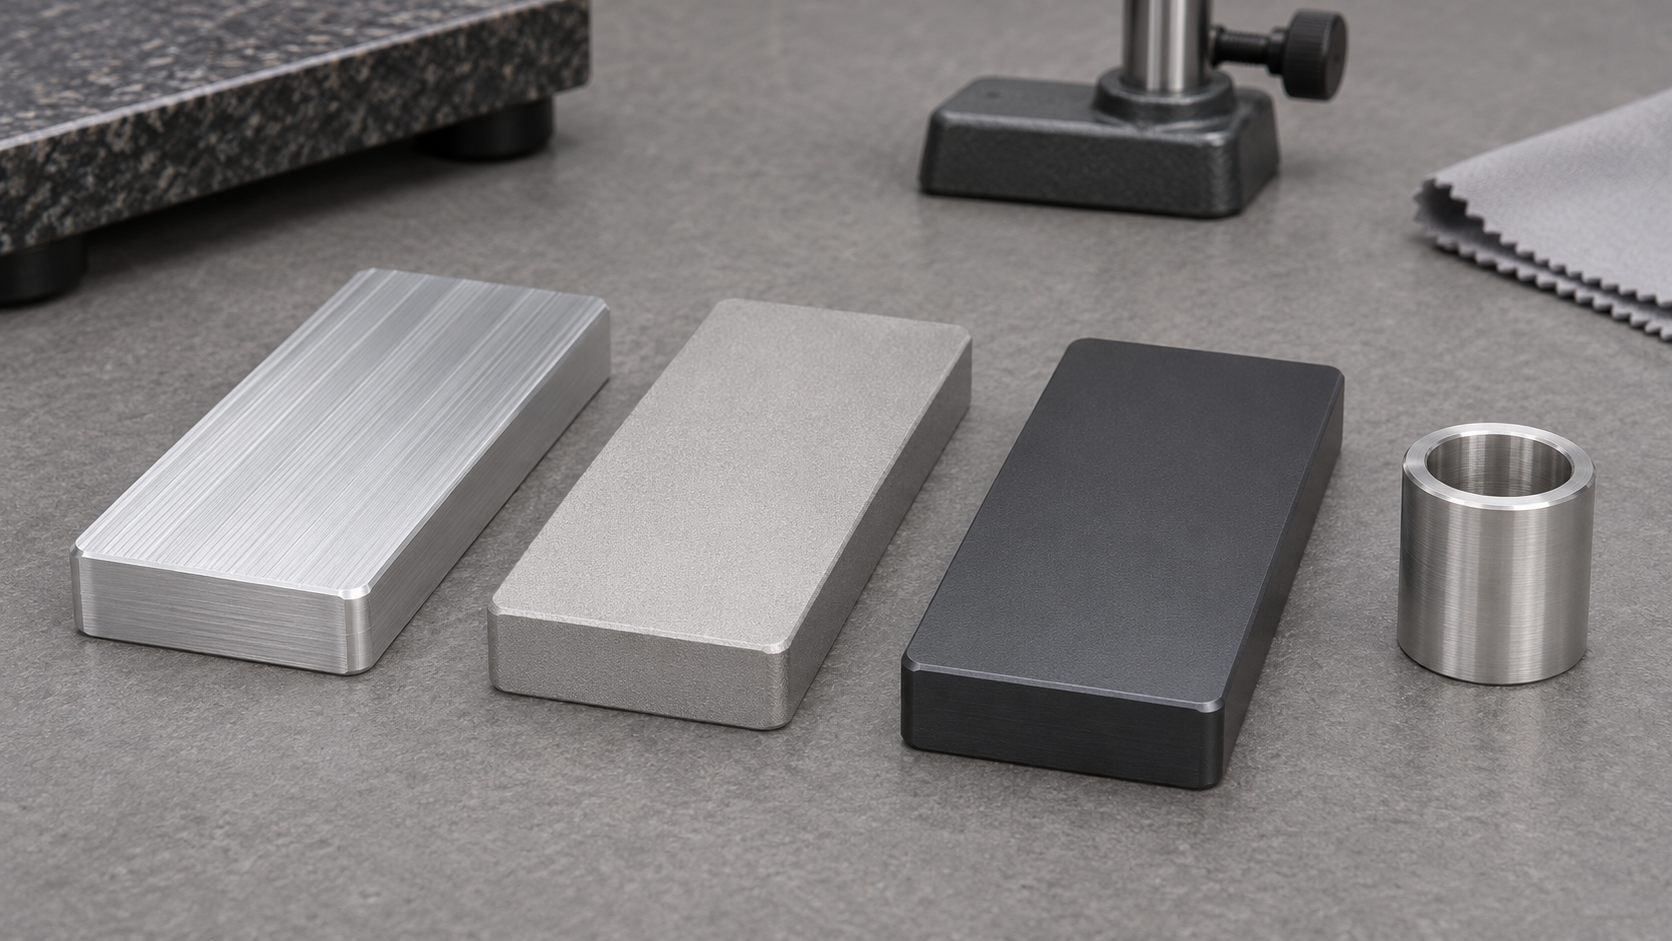
Typical share: 5–15% of per-unit cost. These costs are baked into every quote but rarely highlighted. They separate reliable suppliers from ones that save money on paper and cost more in defects. They include in-process inspection, first-article inspection, quality systems such as ISO 9001 or IATF 16949, general overhead, and packaging and shipping.
Cost drivers include certification requirements, inspection rigor, and geography. Automotive and aerospace systems add overhead; full inspection costs more than sampling; and offshore sourcing adds freight and duties.
Leverage point: do not pay for inspection you do not need, but do not skip inspection you do need. A small per-part saving that leads to a field failure is a poor deal. Agree appropriate acceptance levels based on part criticality and build a relationship that supports trust in process control. For how drawings define these requirements, see our fit and function guide.

6. Hidden Costs in the Metal Stamping Cost Breakdown
Not every cost appears as a line item. Tooling wears and needs maintenance or regrinding after a period of production, and this should be budgeted. Even good processes produce some scrap, and tight tolerances raise the rate. Long lead times and minimum order quantities tie up capital in inventory, which is a real cost of ownership.
Design changes are expensive once a die exists. A simple change may cost a modest amount, while a major redesign can approach half the original tool price. Thorough design-for-manufacturing review before tooling is built is the cheapest insurance available. An independent overview of technical drawing preparation explains how clear requirements reduce later changes.
Illustrative Example: A Simple Bracket
Consider a mild steel mounting bracket produced in a progressive die at high annual volume. The table shows a hypothetical metal stamping cost breakdown in relative terms, not a real quotation.
| Cost component | Typical share | Leverage |
|---|---|---|
| Tooling amortization | About 13% | Spread over more parts |
| Material including scrap | About 37% | Improve nesting yield |
| Press time and labor | About 25% | Progressive operations |
| Deburring and plating | About 17% | Consolidate operations |
| Quality and overhead | About 8% | Match inspection to need |
In this scenario material is the largest single driver, so yield improvement delivers the biggest saving. Tooling, though large upfront, becomes a small share when spread over many parts.
Key Takeaways for Cost Optimization
- Design for nesting first. Material is usually the biggest per-unit cost, and small layout gains compound across the run.
- Match tooling to volume. A progressive die makes sense at high quantities; a simpler die suits a short run.
- Minimize secondary operations. Every step after the press adds cost, lead time, and risk.
- Do not optimize in isolation. The lowest unit quote is not always the lowest total cost once tooling life, defects, and freight are counted.
- Invest in DFM up front. A few hours of review before tooling prevents expensive changes later.
Teams that also need machined parts can review our CNC machining services or RFQ checklist before requesting prices.
Frequently Asked Questions
What is the largest cost in stamping? It depends on volume. At high volume, material usually dominates; on a first order, tooling is the largest line.
How can I lower the metal stamping cost breakdown? Improve nesting, reduce secondary operations, match tooling to volume, and specify only the inspection and finish you need.
Are the percentages universal? No. They are illustrative categories; the real metal stamping cost breakdown depends on geometry, material, quantity, and supplier.
How Volume Reshapes the Metal Stamping Cost Breakdown
Volume is the single most powerful variable in the metal stamping cost breakdown in the metal stamping cost breakdown. It changes how tooling is amortized, which die design is economical, how quickly setup is recovered, and whether secondary operations can be automated. A quotation that makes sense at one quantity can be completely wrong at another.
At prototype or very low volume, tooling dominates or is avoided entirely through laser cutting and press braking. The buyer pays for flexibility. At medium volume, a simple single-stage die becomes reasonable, and the per-unit tooling share falls quickly. At high volume, a progressive die with multiple stations spreads its high cost over so many parts that it becomes the cheapest route per piece.
This is why a meaningful metal stamping cost breakdown always states the quantity assumptions. Ask for prices at your actual trial quantity and at the volume you expect to order, and label uncertain future demand as a forecast. Comparing prices at different quantities leads to poor decisions.
Reading a Quotation Line by Line
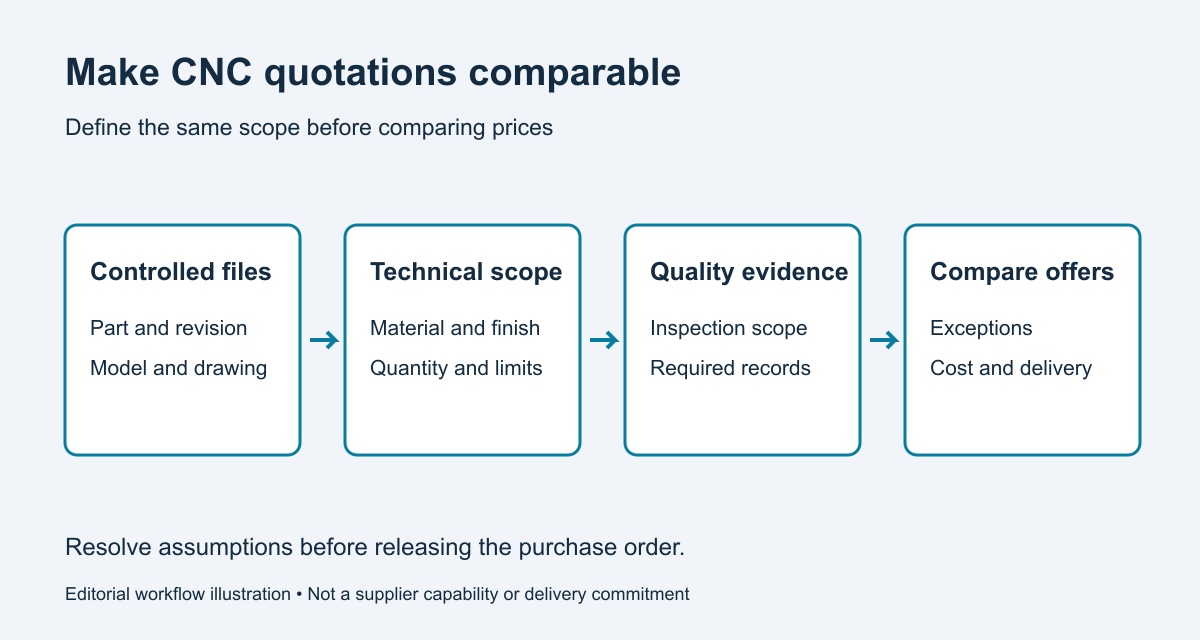
A detailed metal stamping cost breakdown lets you see which assumptions the supplier made. Look for the material grade and thickness, the die type, the number of operations, the finishing steps, the inspection scope, and the delivery terms. If any of these are missing, the metal stamping cost breakdown is incomplete and the price is not comparable with another offer.
Separate one-time charges from recurring ones. Tooling, programming, and fixtures are usually one-time; material, press time, and finishing recur with every part. A low unit price can hide a large one-time charge, and a higher unit price may include work another supplier lists as an extra.
Ask bidders to state exclusions explicitly. An alternative material, a relaxed tolerance, or an outside plating operation is a proposal to review, not part of the agreed scope. Keeping exceptions in one log makes the metal stamping cost breakdown transparent across suppliers.
Design Choices That Change Cost
Small design decisions have an outsized effect on the metal stamping cost breakdown on the metal stamping cost breakdown. A bend radius that matches the tooling standard avoids a custom insert. A hole placed too close to an edge may need a separate operation. A cosmetic requirement on a hidden face adds finishing that serves no function.
Uniform wall thickness and gradual transitions help the material form consistently. Parts that can be ejected along one axis are simpler to tool, while undercuts and cross features usually need secondary work. Mark these features on the drawing so the supplier can plan the sequence.
Tolerances deserve the same attention. Reserve tight values for features that control fit or sealing and allow general tolerance elsewhere. Applying the tightest tolerance everywhere raises cost without improving the part’s performance.
Material Yield and Nesting in Practice
Nesting determines how much of a coil in the metal stamping cost breakdown becomes finished part and how much becomes scrap. Irregular outlines waste material between parts, while efficient layouts place features to use the web effectively. Because material is often the largest share of the metal stamping cost breakdown, even a modest yield improvement has a large effect.
Coil width also matters. A layout built around a standard width avoids the premium for a custom slit coil. Discussing the strip layout with the supplier early allows the design to be adjusted before tooling is committed.
Scrap value can offset some cost, but it should not be assumed. Ask whether scrap is credited and how it is handled. A clear statement avoids a disagreement about who owns the offcuts.
Balancing Inspection and Risk
Inspection appears as a modest line in the metal stamping cost breakdown, but it protects against much larger losses. A defect that reaches an assembly line costs far more than the inspection that would have caught it. The right level depends on part criticality and the reliability of the supplier’s process.
For critical features, request a first-article report and agree how measurements are taken. For general parts, sampling may be sufficient. Defining this in advance prevents paying for redundant checks or discovering too late that no check was included.
Records also support repeat orders. Keeping drawings, material certificates, and inspection results together makes a later quote faster and helps trace any change in quality to its source.
Choosing a Supplier for Total Cost
The lowest quoted number is not always the lowest total cost. In a metal stamping cost breakdown, lead time, defect rate, freight, and the ability to handle secondary operations all matter. A supplier who consolidates processes and communicates clearly can be cheaper overall even with a slightly higher unit price.
Ask about tooling ownership, maintenance responsibility, and what happens if a die wears or breaks. Clarify who pays for rework and how changes are approved. These terms are part of the real cost even though they rarely appear as a price line.
For projects that combine stamped and machined components, our CNC machining services and engineering review can support the full route.
Conclusion
A clear metal stamping cost breakdown separates tooling, material, press time, secondary operations, and quality, then shows how volume and design change each one. With that view, you can focus on the factors that genuinely move cost rather than negotiating over a single number.
Define the quantity, material, critical features, and acceptance scope before requesting prices. The more precise the input, the more reliable the metal stamping cost breakdown you receive.
Frequently Asked Questions
What is the biggest item in a metal stamping cost breakdown? It depends on volume. Tooling usually leads on a first order, while material dominates at high volume.
Why do two suppliers quote different numbers? They may assume different die types, material grades, finishing, inspection, or quantities. Compare the metal stamping cost breakdown line by line.
How can I reduce unit cost? Improve nesting, simplify secondary operations, match tooling to volume, and avoid specifying precision where it is not needed.
Final Considerations
The metal stamping cost breakdown is a tool for decisions, not a fixed formula. Each part has a different mix of geometry, material, tolerance, and volume, and each supplier has a different process and overhead structure. Understanding the categories lets you ask better questions and compare offers fairly.
Start with a controlled drawing and a clear statement of quantity, material, critical features, and inspection. With those inputs, a supplier can build a metal stamping cost breakdown that reflects the real work, and you can see where a design change will save money.
Planning the Next Order
A good metal stamping cost breakdown also helps with future orders. Once a part is in production, keep the drawing revision, die records, material grade, and inspection results together. When a repeat order is quoted, that package shows exactly what was approved and which assumptions still apply.
If demand grows, revisit the tooling decision. A die that was economical at the first quantity may be worth upgrading for a much longer run. A clear metal stamping cost breakdown at each volume makes that choice straightforward.
If the design changes, treat it as a formal revision. Even a small edit can affect the die, the strip layout, or the inspection plan. Recording the reason for the change keeps later quotes consistent and avoids paying twice for the same work.