
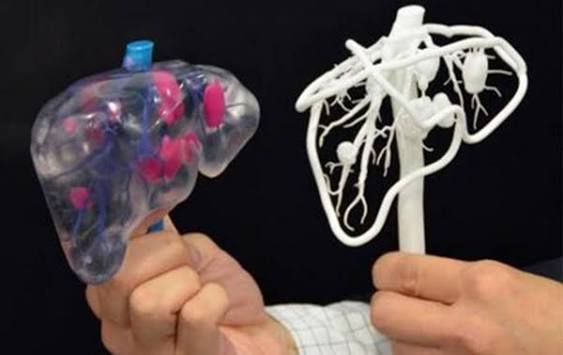
In 3D printing medical devices, medical product development cycles demand frequent design revisions, complex organic structures, and patient-specific customization. Traditional machining and injection molding carry high upfront tooling costs for early prototypes and low-run custom parts. 3D printing medical devices work fills this gap, and is now widely applied in equipment research, surgical auxiliary fixtures, diagnostic hardware, and customized accessories.
Medical manufacturing, however, has strict requirements for biocompatibility, chemical resistance, surface cleanliness, and regulatory compliance. Not every common printing material or process is suitable for medical-grade parts. Distinguishing a non-clinical prototype from an end-use functional component is the first step to avoid compliance risk and unnecessary cost when using 3D printing medical devices work.

Two Application Categories in 3D Printing Medical Devices Work
The first decision is to classify the part. A prototype used only for appearance review, assembly checks, ergonomic validation, or internal demonstration has very different requirements from a component that will contact a patient. Confusing the two either wastes money on unnecessary certification or, worse, puts an industrial material into a clinical application.
Medical R&D prototypes include device housings for diagnostic instruments, assembly-verification jigs for surgical equipment, ergonomic handle mock-ups for rehabilitation devices, and proof-of-concept models before formal tooling. For these, standard industrial SLA, FDM, or SLS materials are acceptable. The focus is dimensional accuracy and surface quality, because biocompatibility certification is not mandatory for a non-contact model.
End-use functional parts are different. They may touch skin, mucous membranes, or medical fluids, and they are used in assembled devices, surgical aids, and rehabilitation hardware. Custom surgical positioning jigs, rehabilitation structural components, housings for portable diagnostic devices, and fluid-contact non-implant modules all fall here. These require certified medical-grade materials, controlled finishing, and full traceability.
Common Processes Used in 3D Printing Medical Devices
Different processes suit different stages of 3D printing medical devices projects. Choosing the right one depends on detail, mechanical performance, and whether the part will be used clinically.
| Process | Medical-oriented advantage | Typical usage |
|---|---|---|
| SLA | High surface quality, fine detail | Appearance prototypes, ergonomic mock-ups, surgical guides |
| SLS / MJF | No supports, good mechanical performance | Functional structural parts, rehabilitation components |
| FDM | Low cost for large prototypes | Non-critical mock-ups, internal test fixtures |
| Metal printing | High strength, porous structures | Surgical tools, equipment structural supports |
SLA is valued for smooth surfaces and fine features, which is why it is common for visual models and surgical guides. SLS and MJF produce tougher parts without support marks, making them useful for functional assemblies. FDM remains the lowest-cost route for large internal fixtures. Metal printing serves high-strength tools and structures, where porosity and post-processing need careful control.
Material Selection for 3D Printing Medical Devices
Material choice is the most critical link when 3D printing medical devices. Start by defining the application scenario: a non-contact prototype, a skin-contact component, or a fluid-contact functional part. The same geometry can be acceptable in one scenario and unacceptable in another.
Prototype-grade materials
Standard SLA resin gives good detail for appearance and assembly verification. PLA and ABS from FDM are low-cost options for large internal mock-ups. Standard SLS nylon supports mechanical function simulation without clinical contact. These materials are chosen for speed and cost, not for biocompatibility.
Medical-grade functional materials
Medical-grade SLA resin is biocompatibility certified and suits surgical guides and short-term skin-contact parts, but sterilization compatibility must be verified, whether by ethylene oxide or gamma radiation. Medical-grade nylon from SLS offers impact resistance for rehabilitation aids and non-implant assemblies. Medical-grade PEKK and PEEK withstand repeated high-temperature sterilization for reusable components. Titanium alloy from metal printing provides a strong, biocompatible option for tooling and hardware.
Material selection checklist
- Confirm whether direct body contact exists and for how long.
- Check which sterilization methods the material can withstand.
- Request certification documents and batch traceability records.
- Match mechanical needs: impact, rigidity, and chemical resistance.
- Avoid general industrial materials for clinical-contact parts.
Design and Tolerancing Considerations
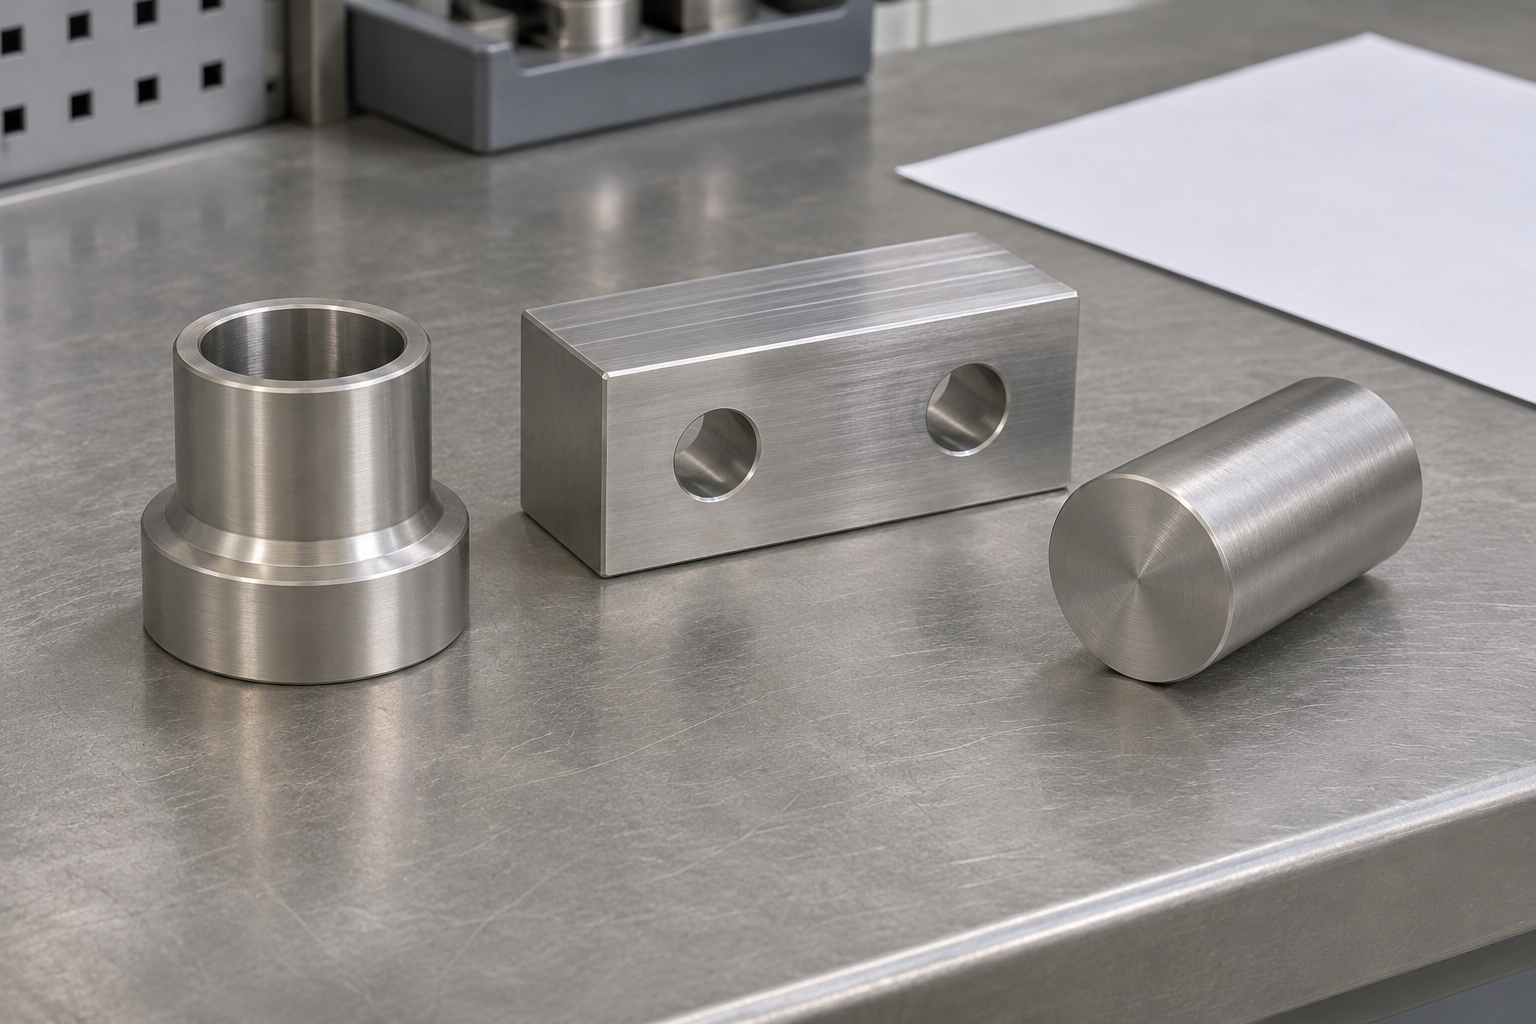
In 3D printing medical devices, a printed part is not automatically dimensionally stable in every direction. Layer adhesion, shrinkage, and orientation can change the finished size, so critical features should be identified and measured on the delivered part. For medical assembly structures, a practical tolerance of about plus or minus 0.1 to 0.2 millimeters is often reserved, adjusted to feature size and process.
Orientation affects both strength and surface finish. A part loaded in service should be oriented so that layers do not separate along the main stress direction. Surfaces that contact skin or fluid may need a finer finish, which can mean additional post-processing and careful cleaning. Designing for the process early avoids a part that looks correct but fails in use.
When a printed component must mate with machined parts, agree which features control the fit and how they will be inspected. Our guide to tolerances, fit, and function explains how to separate size, form, and relationship requirements, a discipline that applies to printed parts as well.
Prototype Versus Functional Part: Why the Distinction Drives Cost
The single biggest cost and compliance decision in 3D printing medical devices is whether a part is a prototype or a functional component. A prototype is judged on geometry, fit, and appearance. A functional part is judged on material performance, cleaning, sterilization, and traceability. Treating a prototype request as a functional one adds certification cost and lead time that the project may not need; treating a functional part as a prototype creates a serious compliance risk.
Write the classification into the request for quotation for 3D printing medical devices. State whether the part will contact a patient, for how long, and whether it will be sterilized. If the answer is not yet known, ask the supplier to quote both a non-contact prototype route and a certified material route. Seeing the two side by side makes the trade-off clear and prevents a mistaken assumption from being carried into production.
The distinction also affects inspection. A prototype may only need a dimensional check against the model. A functional part needs evidence appropriate to its classification, including material certificates and inspection of the features that control fit and function. Agree this scope before the first build, not after parts have been shipped.
Choosing Between Additive and Conventional Methods
3D printing medical devices excel when geometry is complex, volumes are low, or customization is required. Organic shapes, internal channels, and patient-specific fits are difficult and expensive to machine but straightforward to print. For a one-off surgical guide or a custom anatomical model, additive manufacturing is usually the practical route.
Conventional machining remains stronger for tight tolerances, well-defined features, and materials that are hard to print reliably. A component with precision bearing seats, threaded interfaces, or demanding surface finish may be better machined, or printed near-net and finished by machining. Many projects use both: a printed prototype for early validation and a machined part for production.

Cost in 3D printing medical devices also shifts with quantity. Printing has low setup cost and nearly flat unit cost, so it is attractive for one to tens of parts. Machining has higher setup cost but becomes economical at larger volumes. Understanding where that crossover lies helps a team choose the right method at each stage rather than defaulting to one process.
From Design File to Printed Part
A clean design file shortens every downstream step. For 3D printing medical devices, provide a watertight model with a defined units system and a drawing that identifies critical features. Mark which surfaces will contact a patient, which will be sterilized, and which must remain free of support marks. These notes tell the supplier where to focus process control.
Wall thickness in 3D printing medical devices deserves attention. Too thin, and a part may warp or lack strength; too thick, and print time and residual stress increase. Hollow sections with consistent walls generally print more reliably than solid blocks. Where a part must be strong, consider ribbing or a lattice rather than simply adding material.
Tolerances should reflect what the process can hold. Specifying a machining-level tolerance on an as-printed surface leads to disappointment and rework. If a feature truly needs a tight fit, plan a secondary finishing operation and define it on the drawing. An honest conversation about achievable tolerances early in the project saves both time and cost.
Post-Processing and Cleaning Controls
Post-processing is where many 3D printing medical devices projects encounter problems. A functional part may need controlled cleaning and residue removal, because ordinary sanding can leave contaminants that affect clinical use. Uncured resin, support residue, and loose powder must be removed through a defined and repeatable process.
Sterilization is a further constraint in 3D printing medical devices. A method that works for one polymer can deform another, so the sterilization route should be agreed before material selection is finalized. Repeated sterilization can change mechanical properties over the life of a reusable device, and that needs to be considered during design validation.
Keep records of printing parameters, cleaning steps, and post-processing operations for each batch. These records support audit traceability and make it possible to reproduce a part that performed well. Without them, a later batch may differ in ways that are hard to diagnose.
Compliance and Quality Assurance
A printed part is not automatically medical certified. Final device certification follows the regulatory rules of the market where it will be sold, and the printing process is only one part of that evidence. An independent overview of ISO 13485 for medical device quality management explains the broader system in which material control, process validation, and traceability sit.
Suppliers of 3D printing medical devices should be able to provide material certificates, batch records, and inspection evidence appropriate to the part’s classification. For functional components, first-article inspection and agreed acceptance criteria reduce the risk that a visually acceptable part fails in service. Buyers should confirm who owns final approval and when the hold point occurs.
Batch Consistency and Repeat Orders
A single good part proves that a supplier of 3D printing medical devices can make the item once. A repeatable supply arrangement requires more. Batch consistency in 3D printing medical devices depends on controlled material lots, stable machine calibration, fixed orientation and parameters, and a repeatable post-processing route. When any of these change, the delivered part can change with them.
For that reason, freeze the build once it has been validated. Record the machine, material lot, orientation, and cleaning process, and reuse them on later orders. If a machine or material source must change, treat it as a process change and confirm that the part still meets its requirements before shipping production quantities.
Inspection is the final safeguard in 3D printing medical devices. Measure the characteristics that control fit and function on each relevant batch, and keep the results with the manufacturing record. Over time, this package turns a series of one-off builds into a stable process that can be audited and improved.
How to Plan a 3D Printing Medical Devices Project
A practical plan for 3D printing medical devices starts by separating prototypes from functional parts, then matching each to a process and material. Request a quotation that states the material grade, post-processing, inspection scope, and delivery condition. Mark any assumptions or alternatives clearly, and make sure engineering approves them before production.
For teams that also need machined components, Yueyi provides CNC machining services and engineering review alongside additive processes, so a device can move from prototype to low-volume production with consistent requirements.
Frequently Asked Questions
Can an industrial resin be used for a surgical guide? No. A guide that contacts tissue needs a certified medical-grade material with appropriate sterilization compatibility and traceability.
Is SLA or SLS better for functional parts? It depends on the requirement. SLA gives finer detail and surface finish, while SLS and MJF give tougher parts without support marks. Match the process to the load and contact scenario.
What records should a supplier provide? Ask for material certification, batch numbers, printing parameters, post-processing steps, and inspection results on the characteristics that control fit and function.
Applications Across the Medical Device Lifecycle
The value of 3D printing medical devices shows up across the whole product lifecycle, not only at the concept stage. Early in development, printed models let engineers hold a shape, check assembly access, and explain a design to clinicians before tooling is committed. This shortens review cycles and surfaces problems that a flat drawing can hide.
During validation, 3D printing medical devices support fixture and gauge production. A custom jig that holds a component at the correct angle can make a test repeatable, and it can be reprinted quickly if the design changes. Surgical planning models and positioning guides are another common use, where anatomy varies from patient to patient and a standard part would not fit.
At low production volumes, additive manufacturing avoids the cost of hard tooling. For specialized equipment, custom accessories, or small runs of a device, this can be the most economical route. As volumes grow, the same design is often transferred to molding or machining, retaining the validation work already completed.
Questions to Ask a 3D Printing Supplier
Not every supplier is equipped for 3D printing medical devices. Ask which materials are certified, whether certificates and batch records are available, and how cleaning and post-processing are controlled. A supplier experienced with medical work should be comfortable discussing traceability and inspection rather than treating it as an afterthought.
Confirm how the supplier handles design changes and revisions. Ask for a clear statement of which document governs, how exceptions are approved, and how a validated build is frozen for repeat orders. For 3D printing medical devices, a change in machine, material lot, or orientation can matter as much as a change in geometry.
Finally, agree on inspection scope in writing. Identify the characteristics that control fit and function, the method used to measure them, and when the report is issued. Suppliers that answer these questions clearly are usually the ones who can support a project from prototype through production.
Final Considerations
Successful 3D printing medical devices projects share a few habits. The team separates prototypes from functional parts, selects a process and material that match the contact scenario, controls post-processing, and keeps complete records. Each of these steps reduces the chance that a part which looks right fails when it is used.
The technology of 3D printing medical devices rewards careful planning. A clear classification, a controlled design file, and an agreed inspection scope turn printing from a quick prototype tool into a dependable manufacturing route. With those basics in place, 3D printing medical devices can move confidently from early research to low-volume production.
Start with the simplest question: is this part for demonstration or for use? The answer determines the material, the process, the cleaning route, and the records you will need. Get that right, and the rest of the project becomes far easier to control.