
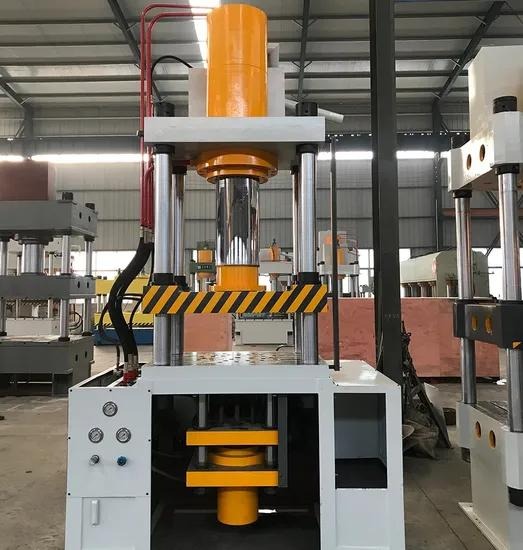
Metal stamping process turns flat sheet metal into repeatable, high-strength components by pressing it between a die and a punch. It is one of the most widely used production methods in automotive, appliance, electronics, and industrial equipment manufacturing. This guide explains how the metal stamping process works, where it is economical, and what buyers should check before releasing a drawing.
For purchasing teams, the appeal is consistency at volume: once a die is proven, each stroke produces a part with the same geometry in a fraction of a second. Understanding the metal stamping process helps a buyer set realistic tolerances, choose the right material, and interpret a quotation instead of comparing only the unit price.
What the metal stamping process Actually Does
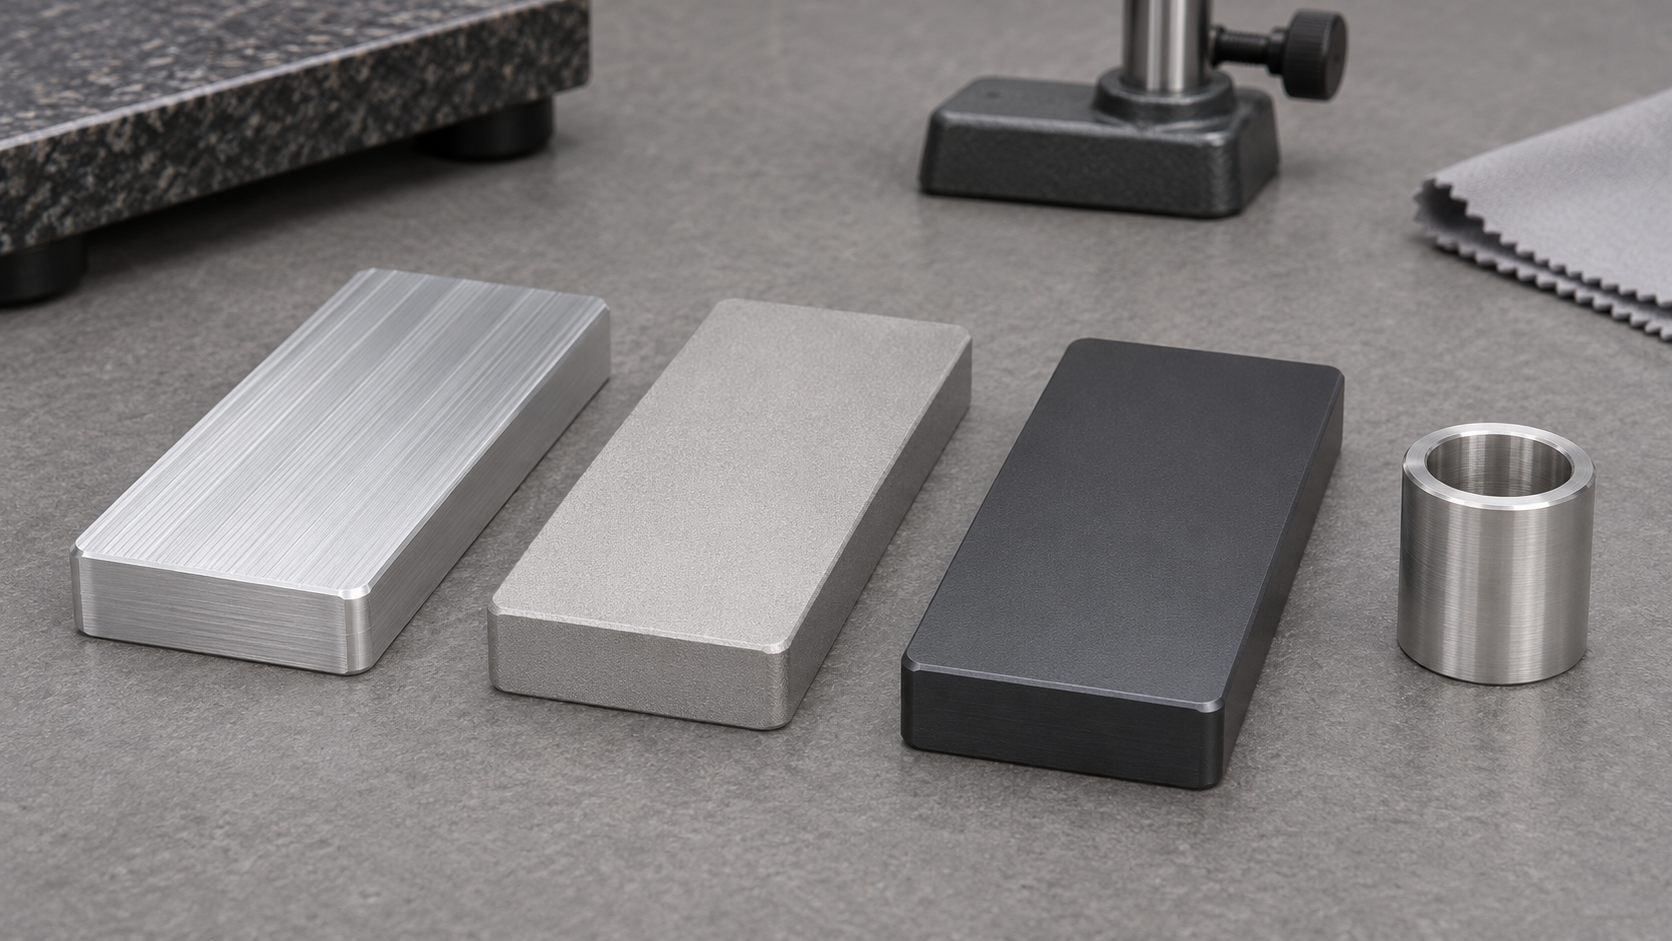
At its core, the metal stamping process applies controlled force to a sheet or coil so the material yields into the shape defined by the tooling. Depending on the operation, the sheet may be cut, bent, drawn, or coined. Most production parts combine several of these actions in a progressive die or in a sequence of separate presses.
The method differs from machining because material is redistributed rather than removed as chips. A bent flange keeps the original sheet thickness, while a drawn cup thins it in controlled zones. That distinction affects strength, weight, and cost, and it is why stamped parts are usually lighter and cheaper than an equivalent milled component once volume is high enough.
A stamping line typically includes a coil feed, a press, the die, and a parts-handling or inspection stage. Feed accuracy, lubrication, and press tonnage all influence the result. When any of them drifts, defects appear across the whole batch rather than on a single piece, so process control matters as much as the die itself.
Main Operations Inside the metal stamping process
Blanking cuts the outside profile from the sheet, producing the flat blank that later operations form. Piercing punches holes or slots, while bending creates angles along a straight axis. These are the most common steps and often run together in a single progressive tool that advances the strip with every stroke.
Drawing pushes the sheet into a cavity to form a three-dimensional shell, such as a housing or a cup. Coining applies high pressure to create fine detail or flatten a surface, and embossing raises a local feature. Deep draws may need several stages with intermediate annealing to avoid tearing the material.
Trimming, flanging, and hemming usually finish the part. Each added operation increases tooling complexity but can eliminate a separate machining or welding step downstream. A buyer who understands the metal stamping process can discuss which features belong in the die and which are better added later as secondary operations.
| Operation | What it does | Typical output |
|---|---|---|
| Blanking | Cuts the outside profile | Flat blank for forming |
| Piercing | Punches holes and slots | Openings and locating features |
| Bending | Creates angles along an axis | Flanges and brackets |
| Drawing | Forms a three-dimensional shell | Cups, housings, covers |
| Coining | Compresses for fine detail | Flat pads, fine features |
| Trimming | Removes excess material | Final edge geometry |
Tooling and Press Setup
The die is the largest fixed cost in a stamping project. A simple blanking die is relatively inexpensive, while a multi-station progressive die for a complex structural part requires design, simulation, machining, and tryout. That cost is amortised over the production volume, which is why short runs are quoted so differently from long ones.
Press selection follows the force and stroke the geometry needs. Mechanical presses suit high-speed blanking, while hydraulic presses offer controllable force through a deep draw. Die clearance, strip layout, and lubrication are tuned during tryout, and the first approved parts become the physical reference for the whole run.
Simulation is now standard for complex parts. It predicts thinning, wrinkling, and springback before tool steel is cut, reducing tryout cycles and scrap. Ask whether a supplier uses forming simulation as part of the normal workflow or only after a failed trial, because the answer reveals how tooling risk is managed.
Materials Suited to the metal stamping process
Low-carbon steel remains the default for general stamped parts because it forms easily and costs little. High-strength low-alloy grades add strength for structural members, while advanced high-strength steels serve crash-relevant areas where weight and strength both matter. Each grade changes forming force and springback behaviour.
Stainless steel brings corrosion resistance for appliances and medical hardware, but it work-hardens and needs more tonnage. Aluminum reduces mass for vehicle and electronics parts, yet it is more sensitive to tight radii and springback. Copper and brass appear in electrical components where conductivity is the deciding factor.
Coatings matter too. Galvanised, pre-painted, or aluminised sheet carries protection into the finished part, but the coating affects tool wear, lubrication, and surface appearance. Specify the exact grade, temper, coating, and thickness at the enquiry stage so the metal stamping process is quoted against the correct material rather than an assumption.
Quality Control and Inspection
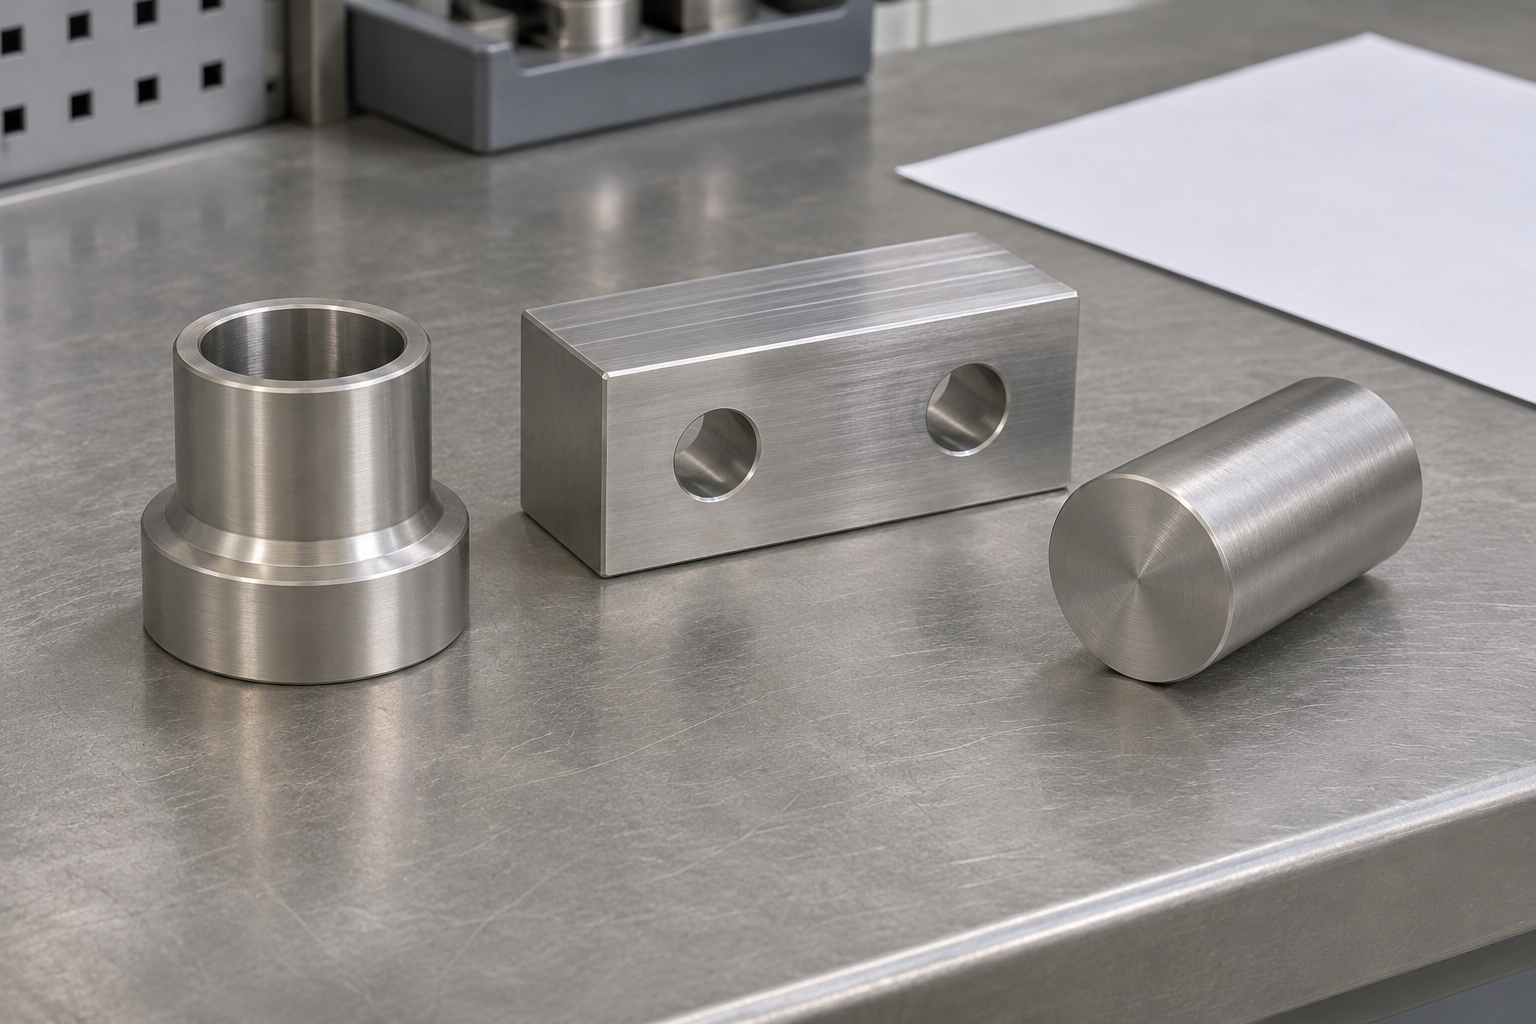
Stamped parts are checked on dimensions, form, edge condition, and surface quality. Burr height on a pierced hole, flatness of a mounting face, and the position of locating features are common acceptance items. A first-article inspection confirms the setup before a full production run begins.
Process drift usually shows up as die wear. As cutting edges dull, burrs grow and hole sizes move, so in-process checks and statistical control catch the trend before a batch falls outside limits. For safety-critical parts, documented evidence is part of the delivered value rather than an optional extra added at the end.
Define the datum scheme and measurement method on the drawing. Inspection of a flexible stamped panel depends on how it is supported, so a part held flat in a fixture may differ from one measured in a free state. Agreeing this avoids a dispute where both sides believe their own reading is the correct one.

Cost Drivers Buyers Should Understand
Tooling, material utilisation, press time, finishing, and inspection make up most of a stamped part price. Material often dominates at volume, so strip layout and nesting efficiency have a direct effect on unit cost. A small change to the blank shape can save a meaningful percentage of the sheet over a long run.
Tighter tolerances and extra operations raise cost through slower cycles, additional die stations, and more inspection. Plating, painting, heat treatment, or deburring add steps outside the press. Asking for these as separate lines in a quotation makes supplier comparisons far more reliable than a single bundled number.
Volume determines how quickly the die cost is recovered. A dedicated progressive tool is uneconomical for a few hundred parts but very efficient at scale. For a broader view of how those elements add up, see our metal stamping cost breakdown guide, which separates one-time and recurring charges.
| Cost element | Behaviour at low volume | Behaviour at high volume |
|---|---|---|
| Tooling | Dominant, shared by few parts | Amortised over the batch |
| Material | Small quantity pricing | Bulk coil pricing |
| Inspection | First-article, detailed | In-process statistical control |
| Finishing | Often manual | Standardised line |
Metal stamping process Compared with Other Processes
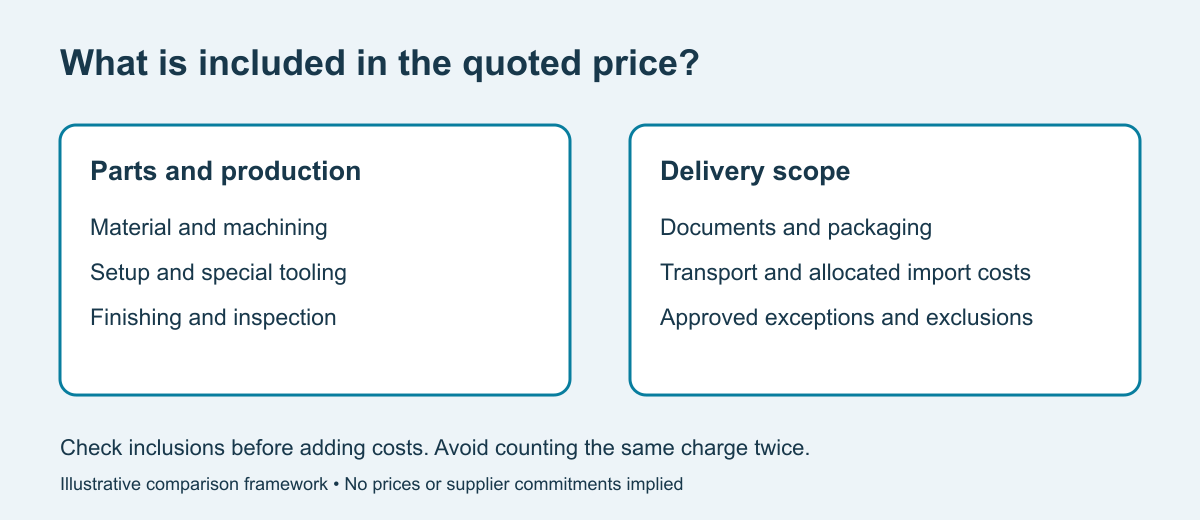
Compared with CNC machining, stamping is far faster and cheaper per part once the die exists, but it cannot easily produce deep undercuts, varying wall thickness, or low quantities of many different geometries. Machining wins on flexibility and on individual features that need very tight dimensional control.
Compared with casting or forging, stamped sheet parts are lighter and have better as-formed surface finish, but they are limited by sheet thickness and formability. Compared with additive manufacturing, the metal stamping process is incomparably faster at volume but cannot make internal channels or topology-optimised shapes.
Many components use a hybrid route: a stamped blank followed by machining on critical interfaces, welding into an assembly, or a coating step. Deciding early which features belong to the die and which belong to a secondary process keeps both cost and accuracy under control throughout the project.
| Method | Best for | Main limitation |
|---|---|---|
| Metal stamping | Thin, strong parts at volume | Tooling cost and formability limits |
| CNC machining | Tight features and low volume | Slower, more material waste |
| Die casting | Complex three-dimensional shapes | Porosity and heavier sections |
| 3D printing | One-off complex geometry | Slow and costly per part |
Design for Manufacturability
Generous bend radii, uniform wall thickness, and hole diameters at least equal to sheet thickness make a stamped part easier to form and kinder to the die. Features placed too close to a bend or an edge distort during forming and should be moved during the design review, not corrected in tryout.
Tolerances should be set by function. Assembly interfaces and sealing faces deserve tighter control, while hidden features can use general values. Applying a tight note everywhere increases die cost and inspection effort without improving the assembled product or its service performance.
Specify burr direction, edge condition, and flatness explicitly. These are easy to overlook on a drawing but affect handling, assembly, and corrosion resistance. Our low volume metal stamping guide explains how design choices shift when the expected quantity is small and dedicated tooling is hard to justify.
Common Defects and Prevention
Springback is the most persistent issue: the sheet partially returns to its original shape after forming, so the final angle differs from the die. Compensation in tool design, over-bending, and simulation control it. High-strength steels and aluminum show it most strongly and need the most attention.
Wrinkling appears in compression zones of a draw, while tearing appears where the sheet is stretched too far. Both are managed through blank-holder force, draw beads, lubrication, and staged forming. Burrs and rollover on cut edges point to worn or incorrectly set die clearance rather than a material problem.
Surface defects such as galling, scratches, or orange peel often trace back to lubrication, tooling finish, or material grade. A defect log that links each issue to a process parameter is more useful than a simple pass or fail record, because it makes the next production run repeatable.
Automotive and Industrial Applications
Body panels, brackets, reinforcements, battery trays, and motor laminations are typical stamped products. The shift to electric vehicles has added new parts with tighter flatness and sealing requirements, which our automotive metal stamping article examines in more detail.
Outside the vehicle industry, the metal stamping process produces appliance housings, electrical contacts, connector shells, heat shields, and general hardware. Anywhere a thin, strong, repeatable part is needed in quantity, stamping is usually the first process a buyer should evaluate before turning to machining or casting.
Frequently Asked Questions
What is the metal stamping process in simple terms? It is a set of press operations that cut and form flat sheet into a finished shape using a die, without removing material as chips.
How much does tooling for the metal stamping process cost? It depends on part complexity and the number of stations. A simple blanking die costs far less than a multi-stage progressive die.
Which materials work best? Low-carbon steel is easiest; high-strength steel, stainless, aluminum, copper, and brass are all common with adjusted tooling and lubrication.
Can the metal stamping process hold tight tolerances? Yes on defined features, but very tight values on every dimension raise die cost and inspection effort. Set them by function.
When is stamping cheaper than CNC machining? Usually once volume is high enough to amortise the die and the geometry suits forming from sheet rather than cutting from solid stock.
What should a buyer send for a quote? The drawing and model, material and thickness, finish, annual volume, critical tolerances, and the inspection evidence required.
Metal stamping process in Progressive and Transfer Dies
In a progressive die, the strip advances through several stations and one stroke performs a different operation at each, so a finished part leaves the press every cycle. The metal stamping process is at its most efficient here, but the tool is expensive and a design change affects every station in the strip layout.
A transfer die separates the blank early and moves it between stations with mechanical fingers. It suits larger parts and deep draws that cannot stay on a carrier strip. The metal stamping process gains flexibility at the cost of cycle speed, and it adds a transfer system that needs its own setup and maintenance.
Choosing between them is a volume and geometry decision, not a quality ranking. Discuss annual quantity, part envelope, and how many operations the shape needs before quoting the metal stamping process. A supplier who asks these questions is planning the tool rather than forcing the part into a familiar setup.
Surface Finishing After the metal stamping process
Many stamped parts need protection or appearance treatment after forming. Plating, painting, powder coating, anodising for aluminum, and passivation for stainless are common. Each adds a step outside the press and can change dimensions on mating features, so the metal stamping process and the finishing route should be specified together.
Define the stage at which each critical requirement applies. A hole that passes before plating may be undersized afterwards, and masking threaded or sealing features must be agreed in advance. Coating thickness, edge coverage, and colour reference belong in the purchasing specification for the metal stamping process, not in a later email.
Deburring and cleaning deserve their own callouts. Cut edges carry burrs and fine particles that affect assembly, handling, and corrosion resistance. Burr direction can also matter for a part that slides into a fixture. Treating these as part of the metal stamping process specification prevents the most common receiving disputes.
Qualifying a Supplier for the metal stamping process
Ask what press tonnage, die-making capability, and inspection equipment are in-house and what is outsourced. A shop that designs and tries out its own tooling usually resolves a forming problem faster than one that only runs a supplied die. The metal stamping process depends as much on tool maintenance as on the original design.
Request a first-article report with measured values, not a simple pass mark, and ask how die wear is tracked across a run. Clarifying questions about material certificates, coating, or burr limits show that the drawing is being engineered rather than merely priced. That is a useful signal when qualifying the metal stamping process.
Agree revision control before the first order. The drawing, the die, the inspection plan, and the approved sample should all carry the same revision. When the metal stamping process is later moved to another press or site, that record makes the change visible and triggers a recheck instead of a surprise at goods-in.
Key Checks Before Production Approval
Before approving a run, confirm the drawing revision, material lot, coating, burr direction, and the inspection method for every critical characteristic. Keep one approved reference part at both ends. These checks take an hour and prevent most of the disputes that otherwise surface months later in the metal stamping process.
Review strip layout and material utilisation, because a small nesting improvement lowers unit cost for the life of the part. Ask for the expected scrap rate and how offal is handled. The metal stamping process is economical largely because it uses sheet efficiently, and that advantage should be visible in the quotation.
| Check | Why it matters | Record to keep |
|---|---|---|
| Drawing revision | Prevents mixed configurations | Approved PDF and model, same issue |
| Material certificate | Confirms grade and coating | Mill certificate with lot number |
| First-article report | Establishes the baseline | Measured values and method |
| Reference part | Resolves appearance disputes | Physical sealed sample |
| Change notice | Keeps the metal stamping process stable | Written supplier agreement |
Finally, agree how changes will be notified. A different coil source, a reworked die, or a new finishing subcontractor can all alter the result. A written change-notification clause keeps the metal stamping process stable and makes future reorders predictable for both sides.
Technical Resources
For further reading on the metal stamping process, see the Wikipedia overview of metal stamping, SAE Mobilus forming and stamping research, and independent guidance on preparing technical drawings for machining. Clear requirements reduce interpretation disputes and give the tooling team a stable reference for every run.