
A screw ran freely in the machined part but binds after anodizing. Forcing it into place may damage the thread and hide the reason the assembly no longer fits. Before changing the tap or stripping the finish, compare the drawing’s thread requirement with the condition in which the part was inspected. Problems with threads after anodizing are usually a requirement or process-planning issue, not a reason to abandon the protective finish.
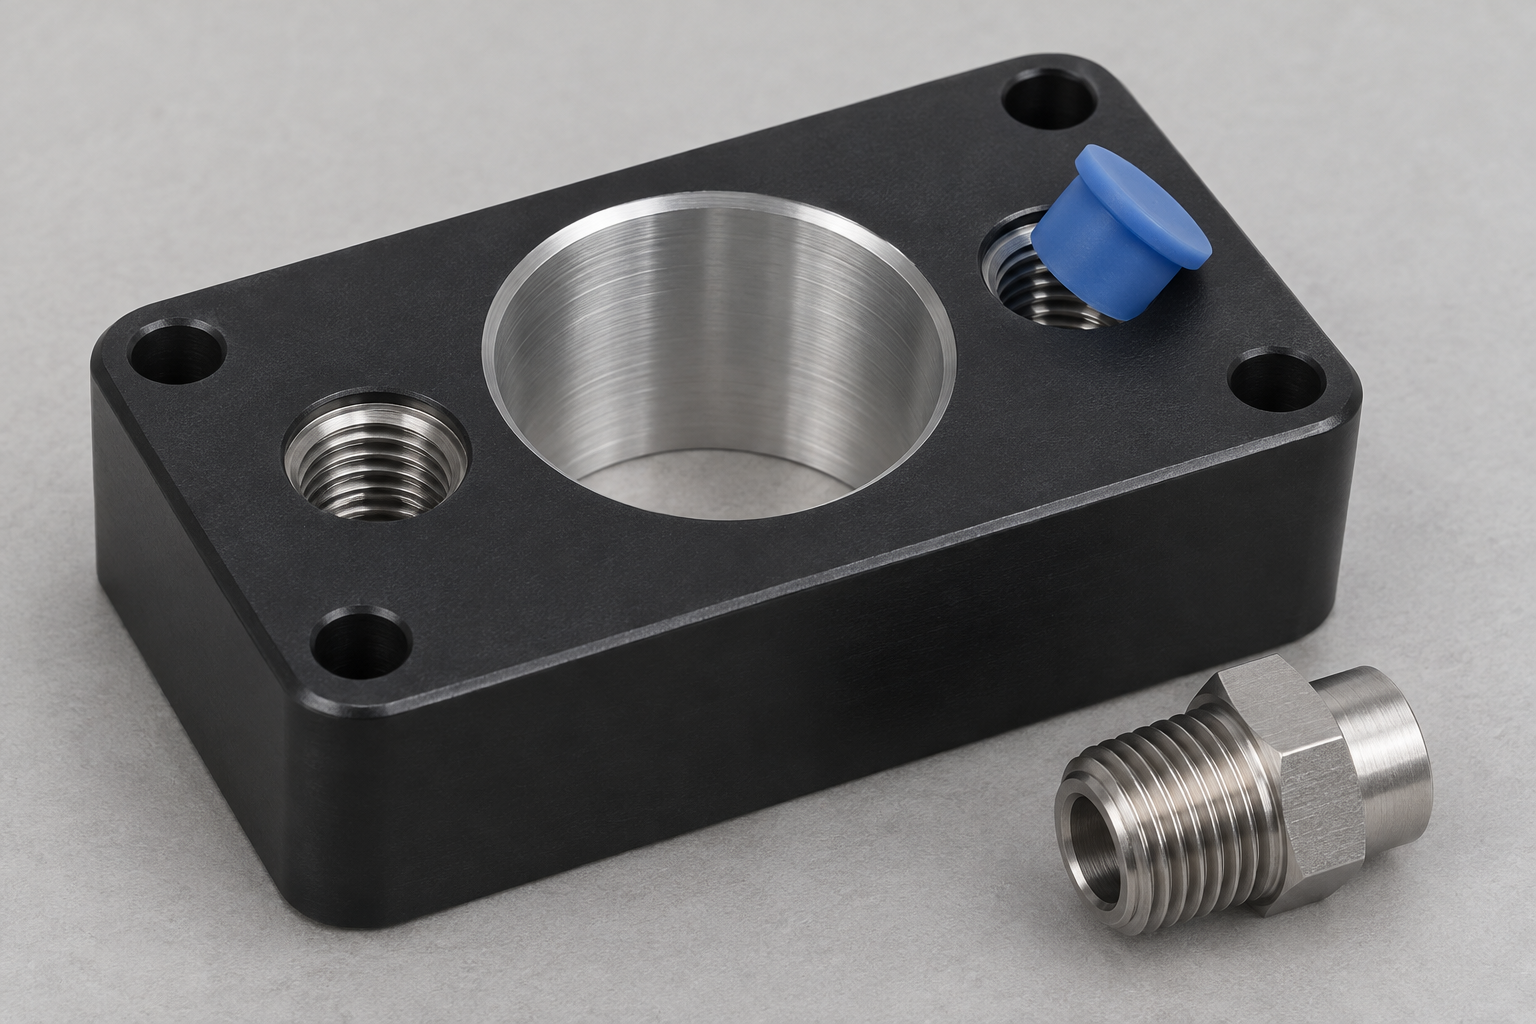
Anodizing changes the aluminum surface into an oxide layer. The Aluminum Anodizers Council explains that the dimensional effect includes both consumed metal and outward growth; pretreatment can also change dimensions. Coating thickness is therefore not a universal machining allowance, and threads after anodizing cannot be corrected with a single number. The actual alloy, pretreatment and anodizing process matter.
Confirm where the fit was lost
Keep the affected parts and mating hardware identified. Check for contamination, burrs, damaged lead threads and a mismatch in thread designation before attributing every tight fit to anodizing. Compare the same drawing revision, thread class and inspection procedure at the machining and finished stages. Threads after anodizing should be judged against the finished requirement, not against a reading taken before treatment.
A bolt that happens to turn into one hole is useful assembly evidence, but it does not replace the specified thread inspection. Ask which gauges or other methods are required, when they are used and whether the report describes the finished condition. Do not let repeated forced assembly become the inspection method. A forced fit can damage the coating and the thread, making the original cause harder to find.
Establish whether the fit problem is on the internal or external thread, and whether it is uniform or localized. A thread that binds only near the entrance often points to coating buildup or a damaged lead-in; one that binds throughout may reflect an allowance or gauge issue. Recording where the binding occurs narrows the cause of threads after anodizing far faster than changing the process at random.
Choose the protection strategy before cutting the thread
Masking can keep selected features outside the anodized area. EPSI’s masking guidance identifies plugs as a way to protect internal holes, bores and threads. The masking design still needs to match the geometry and process: identify the complete region to protect, its boundary and the condition allowed at that boundary. A plug that seals poorly can let solution into the thread and recreate threads after anodizing binding despite the masking step.
| Proposed route | What to agree | Tradeoff to review |
|---|---|---|
| Mask the thread | Protected depth, transition boundary and final inspection | The uncoated region may need a separate protection requirement |
| Allow for growth before anodizing | Process-specific machining allowance and final thread acceptance | Allowance must work with actual process variation |
| Machine or chase after finishing | Permission, sequence, cleaning and inspection | Cutting can remove the protective layer from the thread |
| Change the finish or design | Functional and environmental requirements | A different route needs engineering approval |
These are routes for review, not interchangeable repair instructions. A drawing that requires a protective finish on the thread may rule out leaving it bare. Anoplate’s discussion of its precision anodizing process also illustrates why finish selection and dimensional requirements need to be considered together; its proprietary process is not a YUEYI capability claim. The right route depends on the function the thread and the coating each serve.
Thread designation, class and protected areas
Machining allowance or masking boundary
Inspection after the relevant treatment
Why a coating thickness is not a thread allowance
A common request is to open an internal thread by the nominal coating thickness on the assumption that the oxide grows uniformly into the space. That model is too simple for threads after anodizing. An anodic layer forms by converting some of the aluminum and adding some outward growth, so the net change at a flank depends on the alloy and the process. The geometry of a thread means a small radial change can shift the effective fit by more than the same change on a plain bore.
Pretreatment adds another variable. Etching and cleaning before anodizing remove material, and the amount depends on the alloy and the process conditions. A machining allowance derived only from final coating thickness ignores this consumption step. The machinist and finisher should agree an allowance based on the actual process, then confirm it with a representative part rather than a calculation alone.
Thread class matters as well. A tighter class has less room to absorb dimensional change, so the same process that works for a loose fit can cause binding on a close one. When threads after anodizing are critical, specify the class at the finished condition and inspect accordingly. Treating the as-machined class as the final acceptance criterion is a frequent source of disagreement.
Do not transfer an allowance from a smooth bore
A thread has flanks and a defined fit, so treating it as a plain hole misses important geometry. Avoid a blanket instruction to enlarge every hole by the nominal coating thickness. Have the machinist and finisher agree how the specified internal and external threads will meet their final requirements. Threads after anodizing need a thread-specific plan, not a bore-specific rule.
For a prototype or a changed finishing route, request evidence from a representative sample before releasing the batch. Record the material condition, finish specification, masking arrangement and inspection stage. If any of those change, decide whether the earlier sample still represents production. A sample approved for one alloy or one masking plug does not automatically cover another.

Inspecting the finished thread
The acceptance method should be stated for the finished condition. A go/no-go gauge is the usual way to verify an internal thread, but the gauge must be applied to the part as delivered, with the coating present. Inspecting before anodizing and assuming the thread will remain unchanged defeats the purpose of the check. When threads after anodizing are functional, the final gauge result is the evidence that matters.
Agree how the part is cleaned before gauging. Residue, chips or masking remnants can make a gauge bind and be mistaken for a dimensional problem. Conversely, forcing a gauge to hide a tight spot damages both the gauge and the part. Use a defined cleaning and handling step, and record the result rather than the opinion of the person assembling it.
If a thread is masked, verify the masked region and the transition boundary as part of the inspection. The goal is not only a thread that accepts a fastener, but a part that meets the finish requirement everywhere else. Threads after anodizing should not be solved by leaving an entire functional area uncoated without approval. Document the protected zone so the finisher and inspector agree on where it ends.
Make the drawing note actionable
Identify which dimensions and thread requirements apply after treatment. Mark masked areas explicitly and state whether an alternative finish, post-treatment machining or rework is permitted. Where the drawing already invokes a process standard, retain its exact designation and required revision rather than substituting a general description. A precise note is the best prevention for threads after anodizing that bind unexpectedly.
The acceptance plan should cover the thread and the surrounding functional surfaces. A thread may pass while a nearby sealing land, grounding area or visible face no longer meets its own requirement. Record those features separately instead of asking one assembly trial to answer every question. Thread dimensions and surface texture need separate acceptance decisions; if roughness is specified, review which roughness checks belong before and after finishing rather than using a pre-treatment result to approve the final surface.
For an existing problem, send the before-and-after inspection results, the finish callout and the current model. Our fit-and-function guide explains how to identify the controlled features. Review surface-treatment options, then submit the drawing for a project-specific review. If the same parts also differ in appearance, review anodized color variation separately from thread-fit acceptance.
How anodic growth changes a threaded flank
To understand threads after anodizing, it helps to picture what happens at the surface. An anodic coating grows partly into the aluminum and partly outward. On a flat face the change may be small, but on a thread the flanks are angled and the fit depends on the contact between two mating surfaces. Even a modest change in flank position can shift the effective pitch diameter and tighten the assembly.
Internal and external threads respond differently. Coating growth on an internal thread reduces the available space, while growth on an external screw or stud increases its effective size. If both mating parts are anodized, the effects can add. Threads after anodizing therefore need to be considered as a pair, not as isolated features, especially when both components come from the same finishing process.
The alloy influences the result. Different alloys consume and grow by different amounts under the same anodizing conditions, so a process tuned for one material may not produce the same fit on another. When a material change is proposed, treat threads after anodizing as a fresh question and confirm the fit with a sample of the new alloy before production.
Masking methods and their limits
Plug masking is common for internal threads, but it is not the only approach and it has limits. A plug must fill the bore without damaging the thread and must seal well enough to keep solution out. If the plug is loose, solution can seep in and produce partial coating on the flanks, which is one cause of inconsistent threads after anodizing across a batch.
Tape and lacquer can protect external threads or larger features, but they need careful application and removal. Residue left behind can interfere with the fit or with the appearance of the part. For any masking method, define who applies it, how it is inspected, and what condition is acceptable at the boundary. A masking plan that exists only as a verbal instruction rarely produces repeatable threads after anodizing.
Masking also changes the appearance and protection of the part. An unanodized thread may need a separate corrosion or wear measure, particularly in a harsh environment. The decision to mask should weigh the functional fit against the loss of the protective finish. Document the reason so the choice can be reviewed if the service conditions change.

When post-treatment machining is considered
Chasing or machining a thread after anodizing can restore a fit, but it removes the coating from the very surfaces that needed protection. That tradeoff must be reviewed rather than assumed. If the thread is functional but the coating on it is not required, post-treatment machining may be acceptable under an agreed procedure. If the coating is part of the corrosion or wear requirement, cutting it away defeats the purpose.
Post-treatment work also creates debris and can leave burrs that affect the fit in their own right. Cleaning and inspection after machining become part of the acceptance plan. A thread that passes immediately after chasing can bind later if residue or a raised edge remains. Treat threads after anodizing that are reworked as a distinct condition with its own records.
Approval for post-treatment machining should state the method, the extent of material removal and the inspection required afterward. Without those limits, different operators can produce different results on nominally identical parts. A controlled procedure makes the rework repeatable and keeps the decision traceable to an engineering approval.
Building a sample trial that answers the question
A representative trial is the most reliable way to resolve threads after anodizing before a batch is released. The trial should use the actual alloy, the specified thread class, the intended masking method and the planned finishing process. A coupon made from a different stock form or finished on a different line may not reproduce the fit, however similar it looks on paper.
Define what the trial must demonstrate. Record the thread gauge result before and after treatment, the condition of the masked boundary, and any change in the mating hardware. If the trial passes only with careful handling by one operator, it is not yet a robust answer for threads after anodizing. Repeat it across a few parts and, where practical, across more than one finishing run.
Keep the trial parts as the reference for the production decision. When a later batch binds, a retained sample lets the team compare the current result with the one that was accepted. Without that reference, each occurrence of threads after anodizing is investigated from scratch and the same mistake can recur unnoticed.
Communicating the requirement to the finisher
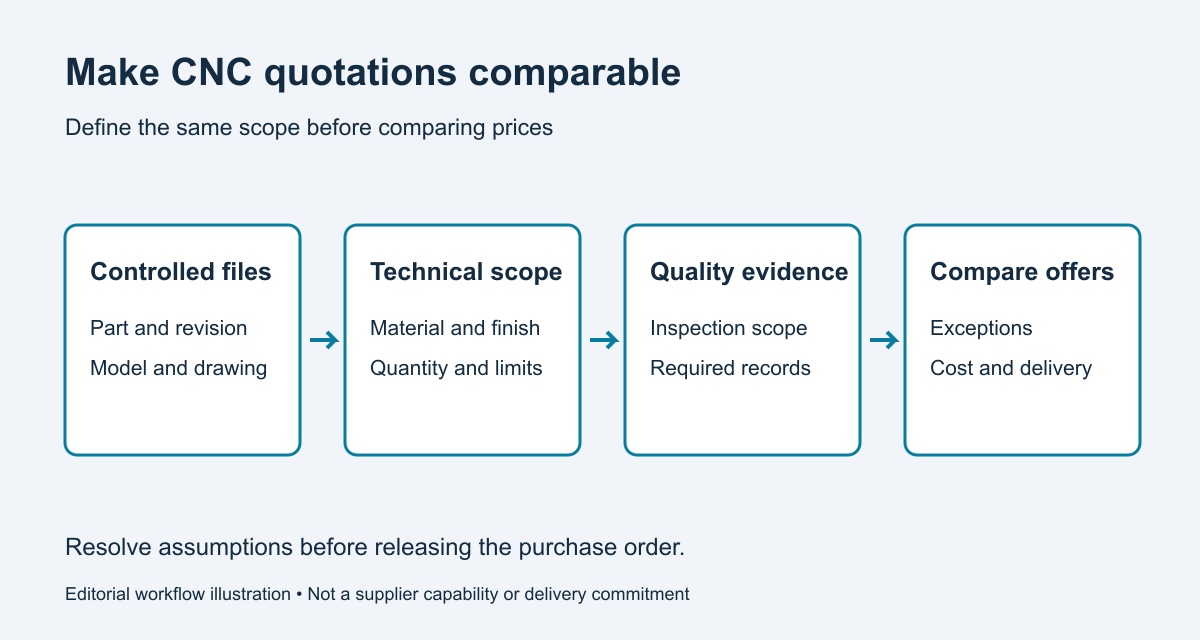
Much of the risk around threads after anodizing comes from an incomplete handoff between machining and finishing. The finisher needs to know which threads must be protected, which may be coated, and what fit is required afterward. A general instruction to “anodize per drawing” is not enough if the drawing does not show the masked zones or the finished thread class.
Share the drawing revision, the thread callout, the finish specification and the masking sketch together. Confirm that the finisher’s process can meet the requirement and ask how variation is controlled. If the process cannot reliably produce threads after anodizing that meet the fit, the answer may be a design or finish change rather than a tighter inspection.
Close the loop with feedback from final inspection. When a batch passes or fails, tell the finisher which parts and which features were affected. That feedback turns threads after anodizing from a recurring surprise into a controlled characteristic, and it helps both sides refine the allowance or masking approach for the next order.
For threads after anodizing that are used in a safety-related or sealed assembly, raise the level of control further. Require a documented first-article inspection, defined gauge settings and a record that links each lot to its finish run. Threads after anodizing in such an application are not a detail to be settled by assembly trial alone. If the fit is critical, agree in advance how a borderline gauge result will be judged and who authorizes any concession, so the decision is consistent from one batch to the next.
Technical sources
- Aluminum Anodizers Council: Anodizing Resource Center FAQ — surface conversion, dimensional change and masking considerations.
- EPSI: Anodizing Masking Solutions — plugs and protection of internal features.
- Anoplate: Precision Anodizing — process-specific dimensional control; no supplier’s proprietary performance is attributed to YUEYI.
The planning framework above is general guidance and prescribes no coating thickness or thread allowance. Apply the governing drawing, thread standard and process requirements to a real decision.
Cover: AI-generated illustrative visualization of an anodized block, threaded features and masking plug. It is not a YUEYI production sample or a validated masking design.